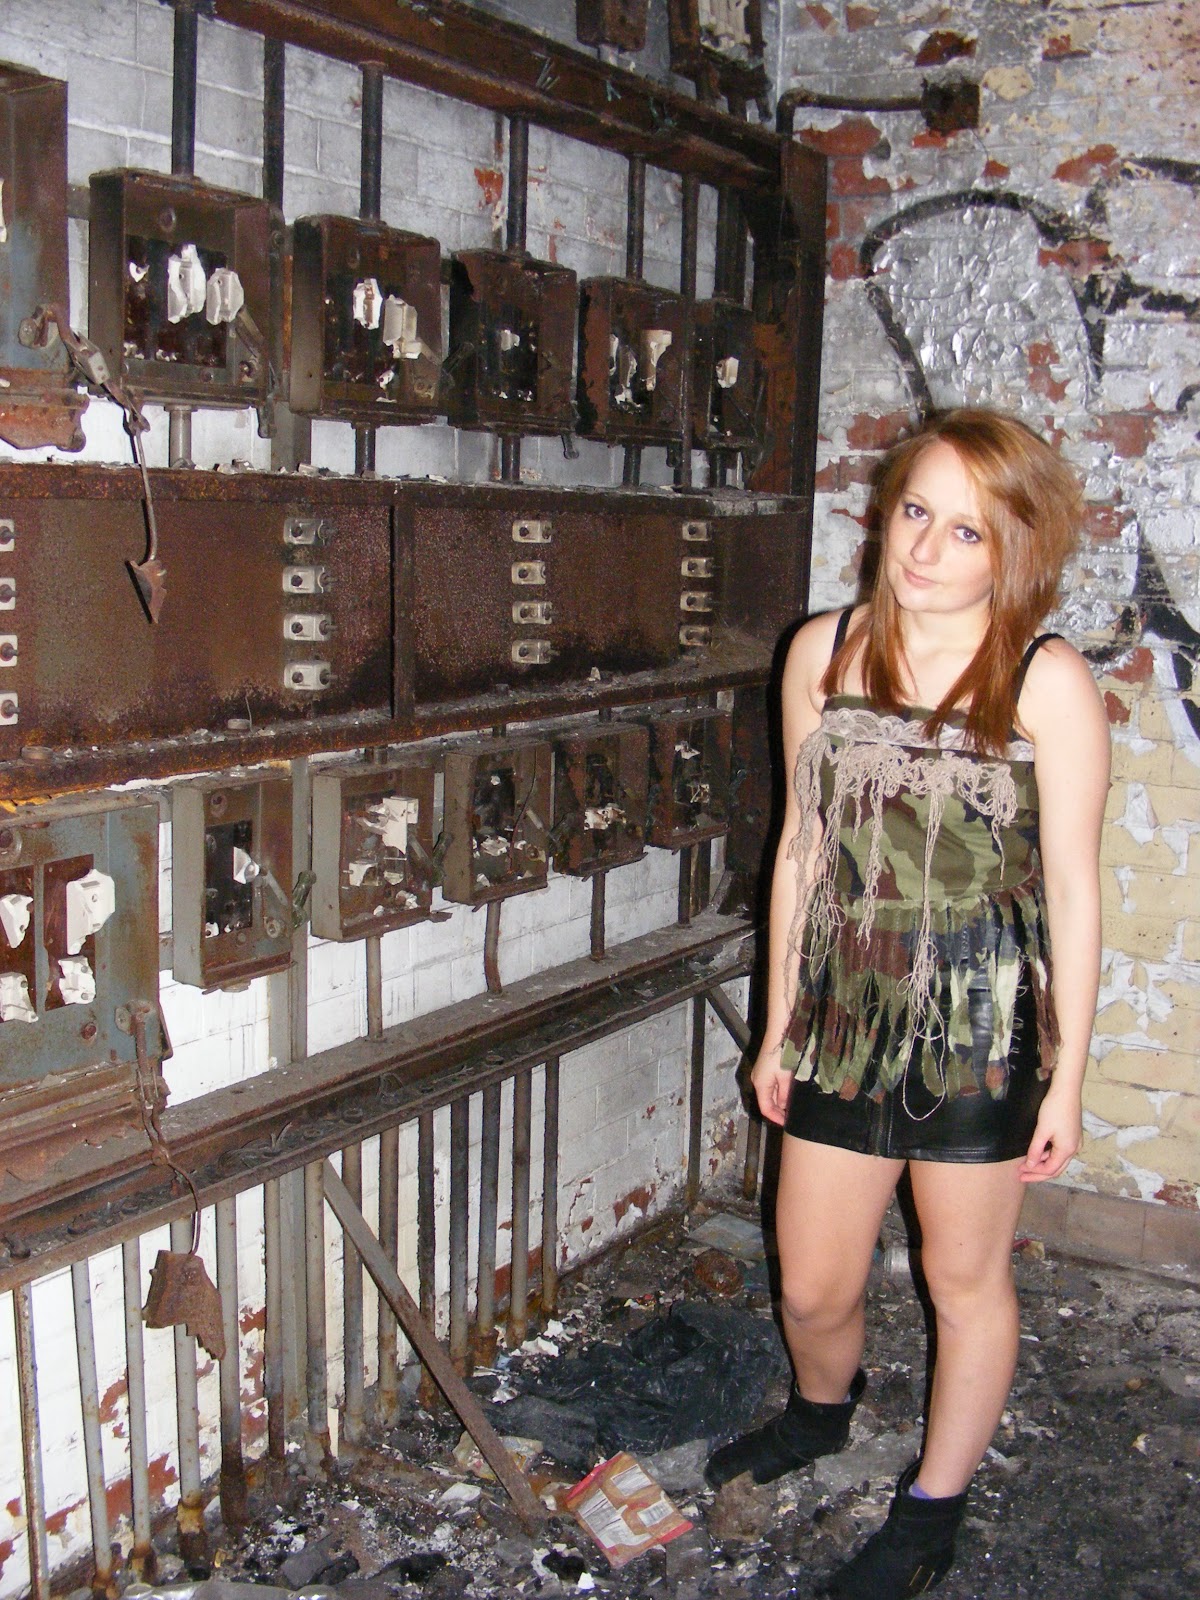
Over the weekend I planned an outfit for the fashion shoot, I wanted a rustic and distressed look and planned to take photographs in Huncoat Power station and the forest.It took me a few days to design the top, and then make it. The day had come! And it was raining, wonderful! Cant say I was thrilled when I looked at the window in the morning and it was pelting it down, but the shoot was planned for the afternoon so I gave the great British weather a chance and by some miracle it stopped. Me and my friend Amy (who modelled the dress went up to Huncoat to take photos. The building was empty and had been abused in the many years it has been left, but this made it perfect for the shoot. Me being the photographer was never going to go well, lets face it I have never done photography apart from the drawing with light! It was an experiment that's how I'm going to put it, but it was good fun and an experience for both me and Amy. The first few photos were not good at all and I dont have a fancy camera because I am a textiles student and frankly cant afford one, so I used my standard camera. The photographs are as professional as I could do.. so take a look...
Tuesday, 16 October 2012
11/10/2012 Extended drawing...
I used one image and tried many different ways of drawing, the magazine cuting was a Louis Vitton fashion shoot and i used it in several ways to develop on my visual communication work. I wanted to experiment and try different methods that I hadnt used before. One of my favourite methods was to draw the image onto plastic by scratching into it, I later found out this can be used to print, so I am also going to try that out. Also I tried using different types of wire to draw out the image and used free machine stitch as well. By trial and error I figured out what worked and what didnt.
When Jo looked at my work she told me to try doing the drawings based on my own primary photographs. The fashion imagery was a success so I decided to create my own fashion shoot, which brings me to Monday (fashion shoot day).
As part of my experimentation with drawing, I used clay to make tiles that will later be put into the kilm. I took photographs of them before they are fired just in case they explode whilst being finished.
Dry Point Prints...
Andy Warhol's line drawings simply outline the figure using a black line. Instead of recreating a similar look with pencil, I thought I could recreate this by using dry point printing. I scratched the image onto a thick acetate and then used them to print with. Here is the outcome...
When Jo looked at my work she told me to try doing the drawings based on my own primary photographs. The fashion imagery was a success so I decided to create my own fashion shoot, which brings me to Monday (fashion shoot day).
As part of my experimentation with drawing, I used clay to make tiles that will later be put into the kilm. I took photographs of them before they are fired just in case they explode whilst being finished.
Dry Point Prints...
Andy Warhol's line drawings simply outline the figure using a black line. Instead of recreating a similar look with pencil, I thought I could recreate this by using dry point printing. I scratched the image onto a thick acetate and then used them to print with. Here is the outcome...
| http://www.nationalgalleries.org/collection/artists-a-z/W/5932/artist_name/Andy%20Warhol/record_id/16259 |
9/10/2012 Screen Printing...
I handed in an image in that I wanted to be used on a screen, the image was put onto the screen and was supposed to then transfer the image when you pulled the ink across the screen. Just my look, the image hadnt quite gone onto the screen right and was missing a section, so it didnt print well at all. I was really looking forward to using my screen and seeing the outcome, but I was gutted when it didnt work. Kim suggested that I used the time wisely and make a paper animated cut out. Running with the theme from Dolphinholme, I used an image of a goat and drew it out into a simple shape, this worked well, but I would have preferred to use a proper image instead. What will be will be.
09/10/2012 Start of Textiles...
Danielle spent the morning explaining to us what textiles was about and what it would entail. She wanted to help us do more towards our drawing and develop some of our previous work before moving on to start the Textiles pathway. I produced a series of line drawings based on work from my sketchbook, using the shapes that had come throughout all the different subjects that I tried, they were small squares of ballpoint pen drawings. In the afternoon we were going to produce larger drawings, but unfortunately I didn't get the chance as Kim worked with me in the afternoon on my screen printing.
Thursday, 11 October 2012
02/10/2012... Visual Communication
Jo showed us lots of different ways or reproducing an image, I discovered an image could be manipulated many ways on both the computer and by hand.
The image above showed all the different methods I used. On the left hand page I have changed the image to black and white, put it in its negative, printed it onto acetate and changed the size of the image. The image maker transfers the image onto fabrics which can later be worked into, mine didn't come out very well as I left air bubbles in it, this means there are now parts of the image missing. If I tried image maker again I would give it more time to dry and then carefully remove the paper. This is a very useful technique considering I am undertaking the textiles pathway, I am going to try sewing into it and creating a larger piece.
This picture was created by using carbon paper, you draw onto the back of the paper and it transfers onto the paper. I experimented by using a rough line instead of just drawing the image straight off. It gives a different look and I like the effect created.
Image Maker
Tuesday, 9 October 2012
02/10/2012 Pathways...
3D Wire Work...
I really enjoyed experiencing the 3D pathway, I have used wire before but never welded it together. The wire I have previously used has been craft wire that is really bendy and easy to manipulate, but this time I was able to use a spot welder to attach lots of pieces of wire together. I used my ink drawing from Dolphinholme to base my work on, and overall I think it was very successful. Wire work really interests me and I think I would like to carry on with it and mix it with my textiles.
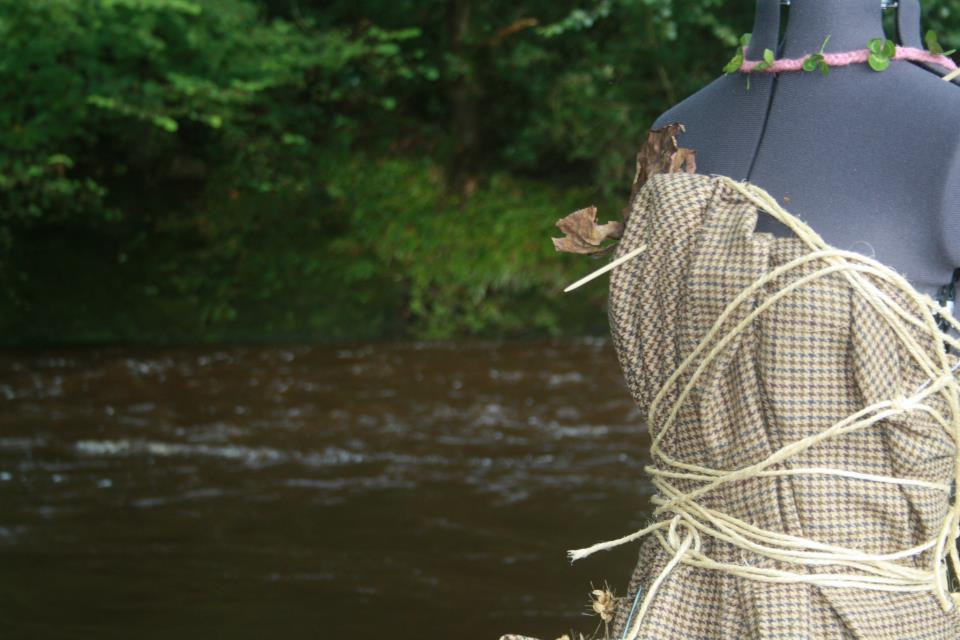
The work of Helaina Sharpley is detailed and intricate, and she also works with some natural elements (however, this isnt what she is most famous for, she works with teacups). The more natural works created by Helaina are what I am interested in. In the image of her work below, she uses thin wire to include detail, I have also used the thin wire to draw more easily with. I can relate to this type of work as I enjoy working with wire and took great pleasure in creating my piece. Helaina's work is detailed and time consuming, but every item is unique and this is what like about wire.
| http://www.ruralarts.org/?attachment_id=1972 |
Monday, 1 October 2012
Subscribe to:
Posts (Atom)